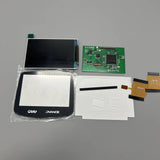
Please do not pull the cable of the LCD screen. Slight pulling may damage the LCD screen. It will cause the LCD to display horizontal and vertical lines. Don't squeeze the LCD screen. Don't wipe the LCD screen with any liquid. Squeezing the LCD frame and back cover will lead to uneven backlight display, light spot and dark spot.
This kit is drop in for the original shell. It is not made for any other "IPS Ready" shells.
If the battery is low, the power switch is dirty, the voltage is low, the LCD backlight will flash. Please replace the battery. Or repair the power switch.
Product features:
1. IPS LCD. No shell modification needed for the original shell. (some shell molds may vary). Easy to install.
2. Deliver 32 pin and 40 pin cables, no matter what version you have.
3. Use ordinary AA battery, the battery life is about 10 hours. Using different game cartridges, the power consumption will be different
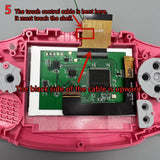
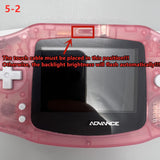
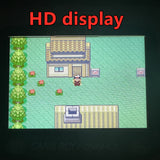
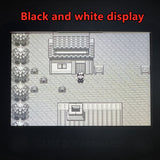
4. Has a black and white filter and a setting for F-Zero games to help with the map issue. Long press the touch sensing cable for 3 seconds to switch the display style (HD, Black and White, F-Zero). Briefly press to adjust the brightness.
5. Support brightness adjustment memory and display style memory, and there is no need to reset when starting up.
Can use the original lens. Included lens may vary.
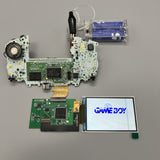
Each set of LCD has been tested before shipment. You should test it again before installation as shown in the photo. Installing the kit will void the warranty. Please see our return policy for more information.
Installation tutorial
GBA console motherboard LCD cable support is divided into 32 pin and 40 pin. There is a model mark under the cable support. Choose the right cable for yourself.
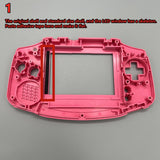
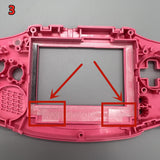
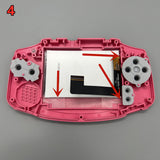
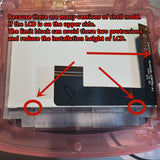
Put the double-sided adhesive tape and LCD stop block in place. The LCD limit block is placed on the bottom two sides of the shell.
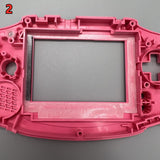
Then install the LCD and LCD adapter board. The LCD screen should be as far as possible to the right, and the border should touch the two small bumps on the right side of the shell.
Replacement ribbons for this kit can be found here.


